Good photographs are key to making sales for real estate agents. Now with a large (and growing) number of homebuyers starting their search for the ideal home online, how good a home looks in online listings is the surest way to attract and impress potential buyers. Online property listings with low-quality photos – or worse, no photos at all – will cause buyers to simply scroll past your listings.
So how do you make a good impression with your real estate photos? Short of hiring a professional real estate photographer, here are 6 tips that can help you improve your property photography skills, and hopefully improve your sales as well.
Update: Check out the infographic version of 6 Tips to Great Real Estate Photos.
#1 Clean up
The first thing you should do is to clean up the property. This means storing away small items like cutlery, cups, books, wires, toys, and other miscellaneous items so that all flat surfaces are empty. Wipe down dusty furniture, and sweep or mop the floors before taking photographs. Beds should be made, and pillows on chairs and sofas arranged neatly. You should also keep away distracting items like fridge magnets, shampoo bottles, and pet bowls. If you feel that the space you’re photographing is looking too cluttered, try removing rugs or emptying out the shelves and cupboards. On the other hand, you can decorate an empty dining table with a vase of flowers, or temporarily hang a picture on a big blank wall. Rearrange furniture if needed; a quick search online will give you some idea of how to ‘stage’ a property for taking photos.
#2 Invest in a wide angle camera
Many real estate agents prefer to use their camera phone to take photos of properties, but sometimes it just doesn’t look professional enough. Consider investing in a camera with wide angle lens (it doesn’t have to be a super fancy DSLR) that will enable you to capture more of an area compared to a normal camera. This is especially helpful when taking interior shots to show the size of a room or to highlight a certain feature. However, don’t try to mislead potential buyers by making a room look larger than it actually is, as they will feel cheated and put off when they view the property personally.

Wide angle lens vs regular lens (Source: MetroBrokers)
#3 Appropriate lighting
Many real estate agents make the mistake of taking photographs in too dark or overly bright lighting. The key is to achieve a balance between well lit and not too stark. Natural light without stark shadows is ideal. For example, blazing midday sunlight is not ideal to photograph homes, as the brightness will cause overexposure and produce stark shadows. Instead, choose a day when the weather is good (blue sky with clouds), shoot with the sunlight behind you, or when the sun is slightly covered by clouds so that you get a softer diffused light instead of stark sunlight on the subject. For a different take, try taking outdoor photographs in the evening, with all the indoor lights switched on.
When taking photographs indoors, a mixture of natural light and indoor lighting is best. If you are unable to get natural light, switch on all the indoor lights and use a diffused flash if possible. One especially important tip to remember is not to point your camera’s flash at reflective surfaces like mirrors.

(Souce: Digital Photography School)
#4 Use a tripod
There are two main benefits for using a tripod to take photographs, especially interior shots. Most real estate photographers will recommend shooting a room at half the ceiling height to properly show the size of a room. For example, if the ceiling is 3 meters high, use your tripod to take a photograph from the corner of the room at a height of 1.5 meters. Besides that, if the interior of the property you’re photographing is dark, you can adjust your camera’s settings to a higher ISO and place it on a tripod to get a brighter shot.

(Source: Pixabay)
#5 Take a variety of shots
With the use of a digital camera, you can take as many photographs as you want, so experiment with various lighting placements, shooting from different angles, and adding, removing or rearranging items and furniture until you are satisfied with the outcome. Buildings are best photographed from an angle instead of straight from the front. You should also avoid including wires, poles, people, and vehicles in real estate photographs. Most importantly, take photos of both the exterior and interior of the property, as buyers will want to view both.
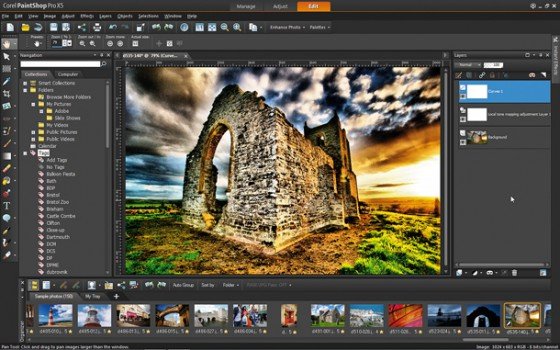
#6 Photo post-processing
Don’t underestimate the power of post-processing photographs. After you’ve chosen the photos that you want to use, some might need touch ups like brightening or contrast. (Don’t use filters; it’s not Instagram!) Make sure your photos are good quality, and can be viewed without being pixelated when enlarged. You can even crop out distracting objects such as poles and wires to make your real estate photographs neater, but be careful of misrepresenting important details like power grids, fire hydrants, road signs, etc.
(Source: Digital Camera World)